

There’s an art to giving your kitchen cabinets a expert paint job that could remodel the complete appearance of your area. From coaching to the final coat, this manual will stroll you through the steps to attain a flawless finish. Equip yourself with the right tools and comply with these professional recommendations to address this mission like a seasoned seasoned. With a touch persistence and attention to detail, you may raise the advent of your kitchen with freshly painted shelves.
Preparation is Key
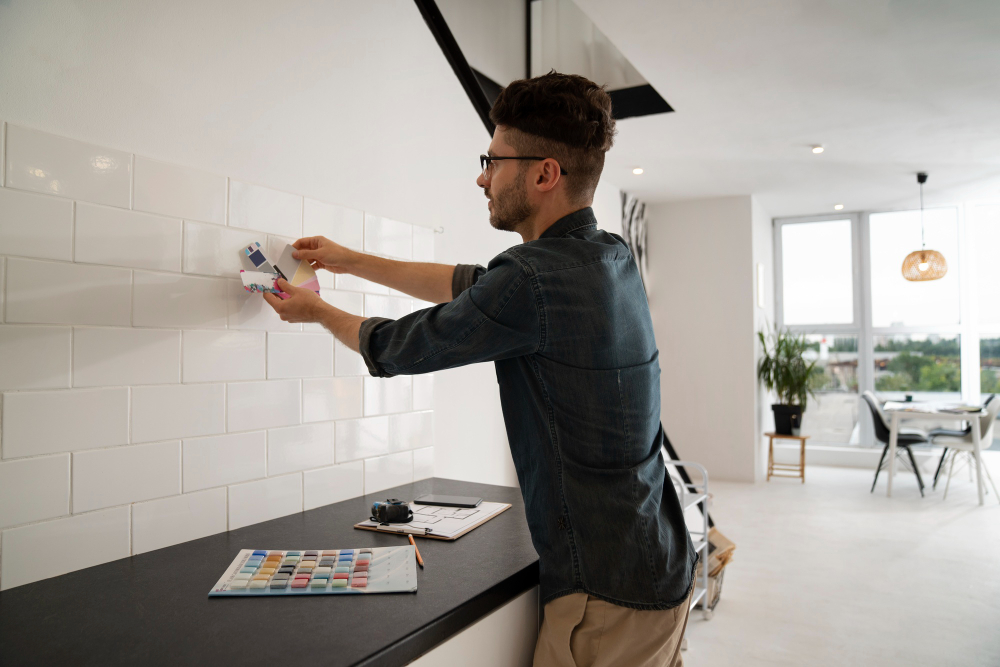
Assessing Your Cabinets
On your journey to painting your kitchen cabinets like a pro, the first step is to assess the current state of your cabinets. Take a close look at their condition – are there any damages, scratches, or areas that need repairs? Make sure to clean the surfaces thoroughly to remove any grease, dirt, or grime that might affect the paint’s adhesion. Sanding down the existing finish can also help the new paint adhere better, providing a smooth and long-lasting finish.
Gathering Essential Tools and Materials
The key to a successful cabinet painting project is having the right tools and materials at hand. The imperatives include a high-quality paintbrush, a roller or sprayer for a smooth finish, sandpaper for surface preparation, painter’s tape to protect surrounding areas, and a sturdy ladder for reaching high cabinets. Additionally, you will need degreaser, wood filler, primer, and high-quality paint in your preferred finish.
Plus, don’t forget to have a well-ventilated workspace to ensure proper drying and curing of the paint. Adequate lighting and ventilation will help you see any imperfections and ensure a professional-looking result.
Cleaning and Degreasing
You can achieve a professional finish when painting kitchen cabinets by following a few key steps. One crucial step in the process is proper cleaning and degreasing of the cabinets. This prepares the surface for the paint to adhere properly and ensures a long-lasting finish.
Removing Hardware and Masking
An vital first step is to remove all hardware from the cabinets, such as handles, knobs, and hinges. This allows for easier access to all areas of the cabinet surface during cleaning and painting. Make sure to label each piece of hardware or keep them organized to easily reattach them once the painting is complete. Additionally, use masking tape to cover any areas you don’t want to paint, like hinges or glass inserts.
Cleaning the Cabinets Thoroughly
Cabinets should be cleaned thoroughly to remove dirt, grime, and grease buildup that can interfere with the paint adhering to the surface. Using a solution of warm water and a grease-cutting detergent, scrub the cabinets inside and out. Pay special attention to areas near the stove and sink, as they tend to accumulate more grease and grime. Rinse the cabinets with clean water and allow them to dry completely before moving on to the next step.
Thoroughly: Cleaning the cabinets properly is crucial for a successful paint job. Any leftover grease or grime can cause the paint to not adhere correctly or lead to an uneven finish. Take your time during this step to ensure the cabinets are thoroughly cleaned and ready for the next stages of the painting process.
Degreasing and Sanding
Thoroughly degrease the cabinets using a degreaser or a mixture of water and trisodium phosphate (TSP). This will help remove any stubborn grease and ensure a clean surface for painting. After degreasing, lightly sand the cabinets to roughen up the surface and help the primer adhere better. Use a fine-grit sandpaper and sand in the direction of the wood grain. Wipe down the cabinets with a damp cloth to remove any sanding dust before proceeding with priming.
For instance: Properly degreasing and sanding the shelves are essential steps that should no longer be neglected. These steps help create a clean and clean surface for the paint to stick to, resulting in a more professional-searching end. By taking the time to degrease and sand the shelves well, you may make certain a a hit portray task that will closing for future years.
Sanding and Priming
Now, let’s look into the crucial steps of sanding and priming your kitchen cabinets to ensure a professional finish that lasts for years to come.
Sanding Techniques for a Smooth Finish
Sanding is a critical step in preparing your cabinets for painting. Use a fine-grit sandpaper to smooth out any rough patches or imperfections on the surface. Sand in the direction of the wood grain to prevent any visible scratches. Make sure to clean off any dust after sanding to ensure a clean surface for priming.
Applying Primer for Optimal Adhesion
The key to a long-lasting paint job is applying a high-quality primer. Choose a primer specifically designed for kitchen cabinets to ensure optimal adhesion and durability. Primer not only helps the paint adhere better but also blocks any stains or wood tannins from bleeding through the paint. Priming your cabinets will also help the paint go on more smoothly and evenly, giving you a professional-looking finish. Be sure to apply the primer in thin, even coats and allow ample drying time between coats for the best results.
Allowing the Primer to Dry
For the primer to do its job effectively, it’s important to allow sufficient drying time between coats. Follow the manufacturer’s instructions for the recommended drying time before sanding or applying the next coat of primer or paint. Rushing this step can lead to a less durable finish and impact the overall quality of your painted cabinets. Finish these important steps with patience and attention to detail to achieve a beautifully painted kitchen that will stand the test of time.
Painting Like a Pro
Choosing the Right Paint and Finish
Finish your kitchen cabinets with the right paint and finish to achieve a professional look. Opt for a high-quality paint that is durable and easy to clean. Choose a finish that suits your needs, whether it’s a glossy finish for a modern look or a matte finish for a more subdued appearance.
Applying the First Coat of Paint
Coat your cabinets with the first layer of paint in smooth, even strokes. Start from the inside and work your way out, ensuring full coverage and avoiding drips or streaks. Let the first coat dry completely before applying the next coat for a flawless finish.
Painting your kitchen cabinets can be a challenging task, but with the right techniques and tools, you can achieve professional results. Use a high-quality brush or roller to apply the paint evenly and prevent any visible brush strokes or roller marks. Work in small sections and overlap your strokes for a seamless finish.
Achieving a Smooth, Even Finish
On the final coat, focus on achieving a smooth and even finish for a polished look. Sand lightly between coats to remove any imperfections and ensure a silky texture. Pay attention to details like corners and edges to ensure every part of the cabinet is coated evenly.
Finish your cabinets with a top coat or sealant to protect the paint and enhance its durability. Choose a product that is specifically designed for kitchen cabinets to prevent yellowing or cracking over time. With the right finish, your painted cabinets will look professional and last for years to come.
Additional Coats and Touch-ups
Applying Additional Coats of Paint
All good things take time, including painting kitchen cabinets. To achieve a professional finish, additional coats of paint are often required. Once the first coat has dried completely, usually after 24 hours, lightly sand the surface with fine-grit sandpaper to smooth out any imperfections. Wipe away the sanding dust with a tack cloth before applying the next coat of paint. Repeat this process for each additional coat, ensuring each layer is uniform and smooth.
Touching up Imperfections and Mistakes
Touch Ups are an inevitable part of any painting project. Small imperfections like drips, smudges, or missed spots can easily be corrected with touch-up paint. Keep some extra paint on hand for this purpose and use a fine brush to carefully fill in any mistakes. For more significant issues, like color variations or large drips, sand the area lightly, touch up with paint, and blend the edges for a seamless finish.
Ensuring a Consistent Finish
Understanding the way to ensure a regular end on your kitchen shelves is crucial for reaching a professional appearance. Before starting the portray manner, ensure your paint is well mixed to avoid color discrepancies. Apply skinny, even coats of paint the usage of a amazing brush or roller to prevent drips and streaks. Work within the same direction as the timber grain for a smooth and uniform finish. Take a while, be affected person, and take note of detail for a faultless result.
Painting kitchen shelves professionally requires a couple of coats of paint to obtain a long lasting and wonderful end. To make certain consistency, use the same form of paint for all coats and stir it properly to hold colour uniformity. Avoid rushing the technique and allow each coat to dry completely before applying the next one. Taking these steps will result in beautifully painted shelves in order to closing for years to come.
Reassembly and Final Inspection
Reattaching Hardware and Accessories
For a professional finish, reattaching the hardware and accessories is crucial. Start by carefully screwing the hinges back onto the doors and securing the handles or knobs in place. Make sure everything is aligned and functions smoothly before moving on to the final inspection.
Inspecting the Finished Cabinets
To ensure your painted kitchen cabinets meet professional standards, conduct a thorough final inspection. Check for any drips, smudges, or uneven paint coverage. Open and close all doors and drawers to test the functionality. Take the time to appreciate your hard work and make any necessary adjustments for a flawless result.
Inspecting the finished cabinets under different lighting conditions can also help you identify any imperfections that may need touch-ups. Natural light is the best for revealing any flaws, so take your cabinets for a spin around the kitchen to catch any inconsistencies.
Making Any Necessary Adjustments
Adjustments may be needed even after a meticulous painting job. If you notice any areas that require touch-ups or if the doors need slight adjustments for proper alignment, tackle these issues promptly. Attention to detail during this final stage will elevate the overall appearance of your painted cabinets.
Cabinets that have undergone a professional painting job deserve a thorough inspection and any needed adjustments to achieve a truly polished look. Taking the time to reassemble with care, inspect meticulously, and make necessary adjustments will result in kitchen cabinets that look as if they were painted by a pro.
Summing up
The process of painting kitchen cabinets professionally requires careful preparation, attention to detail, and the use of high-quality materials. By following the steps outlined in this guide, anyone can achieve a professional-looking result that will transform the look of their kitchen. Remember to take your time, follow each step meticulously, and don’t rush the drying process. With patience and dedication, you can give your kitchen cabinets a fresh new look that will last for years to come.
Frequently Asked Questions
Q: What materials do I need to paint kitchen cabinets professionally?
A: To paint kitchen cabinets professionally, you will need sandpaper, primer, paint, paint brushes or rollers, painter’s tape, drop cloths, and a screwdriver to remove the cabinets if necessary.
Q: How do I prepare my kitchen cabinets for painting?
A: Start by removing all hardware and cleaning the cabinets thoroughly. Next, sand the surfaces to remove any existing finish and roughen the surface for better paint adhesion.
Q: Is it necessary to prime kitchen cabinets before painting?
A: Yes, priming your kitchen cabinets is important to ensure proper adhesion of the paint and improve the durability of the finish. Use a high-quality primer for best results.
Q: What type of paint is best for kitchen cabinets?
A: For a professional finish, it is recommended to use a high-quality latex paint with a semi-gloss or satin finish. These finishes are durable and easy to clean, making them ideal for kitchen cabinets.
Q: How should I apply the paint to my kitchen cabinets?
A: Use a paint brush or roller to apply the paint in thin, even coats. Work in the direction of the wood grain and allow each coat to dry completely before applying the next one.